Honestly? Your camera doesn’t matter nearly as much as you think it does. I know everyone’s obsessed with gear, but I’m telling you – I’ve seen people with £5000 cameras take awful shots because they couldn’t figure out lighting. And I’ve seen people with smartphones nail it because they understood light. That’s the real game changer.
Photography lighting basics aren’t fancy. They’re not complicated. But they’re everything. Master how to work with light – whether you’re using the sun, LED panels, or flash – and suddenly everything you shoot looks better. Sharper. Richer colours. Actual depth instead of flat stuff. That’s not magic. That’s just understanding the fundamentals.
- Start with natural light. It’s free, it teaches you everything, and it doesn’t require a single purchase
- Continuous LED panels are the standard now in 2026. You see what you’re getting in real-time – no surprises
- Three lights (key, fill, backlight) is the pro setup, but honestly? Two lights and a reflector get you 90% there
- Colour temperature in Kelvin basically tells you if your photo will look warm and golden or cool and blue
- Hard light creates drama and contrast. Soft light flatters. Neither is wrong – it depends on what you’re trying to achieve
- Rembrandt and butterfly lighting aren’t just fancy names. They’re techniques that actually work for portraits
- Don’t buy everything at once. A 2-light kit will cover nearly everything you need starting out
- Softboxes, diffusers and reflectors? They’re not optional. They’re literally the difference between amateur and professional
10 Photography Lighting Basics Every Beginner Should Know
Look, people overthink this stuff. They buy thousands of pounds worth of gear and still get terrible results. Why? Because they skipped the basics. Here are the 10 photography lighting basics that actually matter. Learn these, and everything gets easier.
Basic 1: Golden Hour Lighting
Forget midday sun. Seriously. Your first rule is to shoot during golden hour. That’s the first hour after sunrise or the last hour before sunset. The light’s warm. It’s coming in at an angle. It makes everything look incredible.
Why does it work? The sun’s low, so it wraps around your subject. Shadows become soft instead of harsh. Colours get warm and rich. And everyone looks better. Try it once, and you’ll understand why photographers plan entire shoots around golden hour.
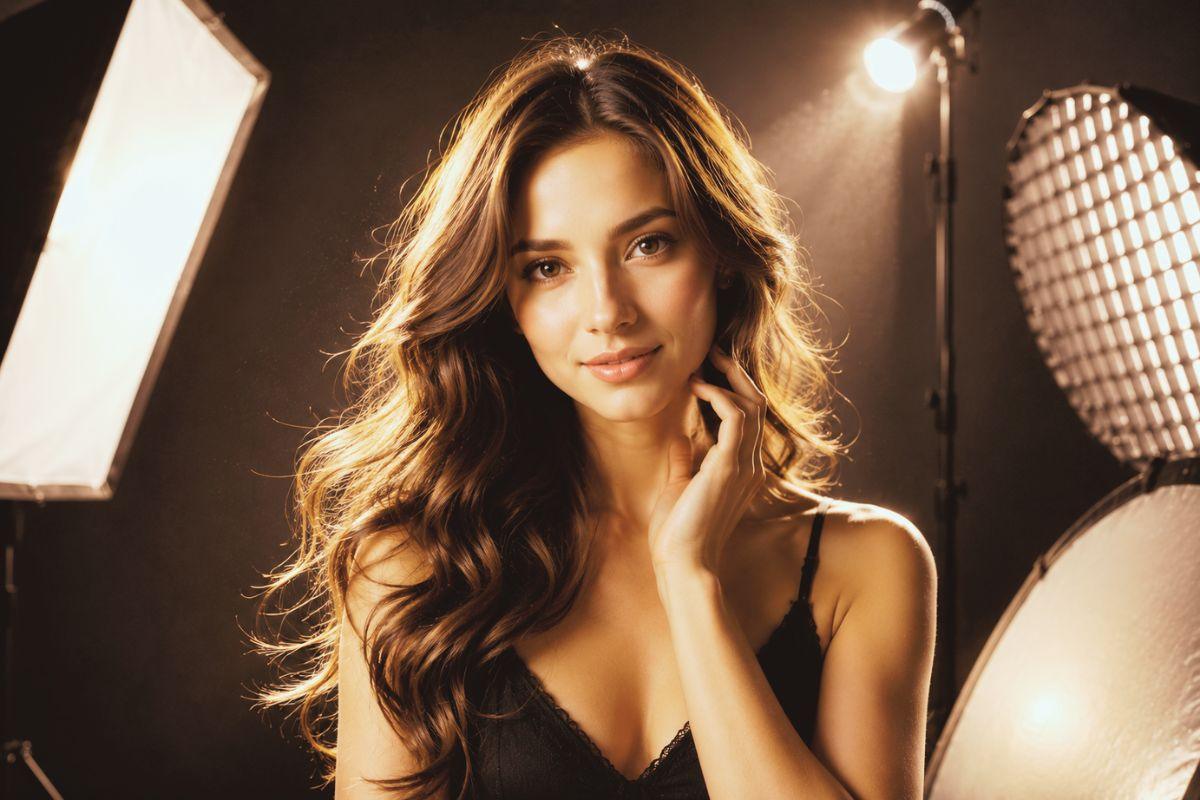
Basic 2: Continuous LED Panels
Stop buying flash kits if you’re starting. Get continuous LEDs instead. Why? Because what you see is what you get. You’re not guessing. You press the button, and the light looks exactly like it did on your screen.
In 2026, continuous LEDs have basically taken over because they’re lightweight, they don’t overheat, they’re quiet for video, and they give you real-time feedback. That’s invaluable when you’re learning.
Also Read: Who is the Largest Landowner in Iceland? The Full Story
Basic 3: Key Light Positioning
Your main light – the one doing the heavy lifting – is your key light. Position it roughly 45 degrees to the side of your subject, slightly above eye level. This single light does more than you’d think. It shapes the face. Creates dimension. Controls the entire mood of the shot.
Don’t put it directly in front. Don’t put it straight to the side. Get that 45-degree angle, and you’ll see immediately why professionals use it.
Basic 4: Fill Light Technique
You don’t need a second expensive light. Seriously. Just grab a white reflector or a white wall. Position it opposite your key light to bounce light back and soften shadows. That’s your fill light.
More fill = friendlier, flatter look. Less fill = moodier, more dramatic. You control the mood by controlling how much fill light bounces back. Dead simple.
Basic 5: Backlight And Rim Light
Stick a light behind your subject, slightly above them. This separates them from the background. Adds a subtle glow. Creates depth. It’s the difference between looking flat and looking three-dimensional.
Beginners skip this constantly and then wonder why their studio shots look amateurish. Don’t skip it.
Also Read: Inside the 10 Most Secretive Private Islands Owned by Business Tycoons
Basic 6: Colour Temperature Control
Every light has a colour temperature measured in Kelvin. Lower numbers (2700K) look warm and golden. Higher numbers (6000K+) look cool and blue. LEDs let you adjust this. That’s massive because now you can match any lighting situation or intentionally create colour contrast.
Don’t just accept whatever colour temperature your light comes with. Learn to adjust it. That skill changes everything.
Basic 7: White Balance Settings
Your camera doesn’t automatically know what colour is correct. So you have to tell it. Shoot in RAW, and you can fix it later without losing quality. Shooting JPEG? Use white balance presets. Tungsten for indoor bulbs. Daylight for the sun. Cloudy for overcast. Match the light source.
This prevents your indoor shots from looking orange or your shaded shots from looking blue. Simple but essential.
Basic 8: Hard Versus Soft Light
Hard light = small direct source = sharp shadows = drama. Soft light = large diffused source = gentle shadows = flattering. Neither is bad. Hard light works brilliantly for moody portraits and bold product shots. Soft light works for approachable, friendly looks.
The trick is combining them. Soft key light with harder rim light gives you both flattery and dimension.
Basic 9: Window Light Usage
Don’t overlook this. A window is a massive light source sitting in your house for free. Position your subject near it and watch what happens. That light wraps around them beautifully. For learning photography lighting basics, window light is genuinely better than expensive studio gear because it forces you to understand directional light without distractions.
If the sun’s too harsh, just diffuse it with sheer curtains. Done.
Also Read: Pension Payments Drop as Bank Deduction for UK Pensioners Comes Into Effect
Basic 10: Reflectors And Diffusers
A white reflector costs £10-20. A diffuser costs similarly. These two things make more of a difference than buying a second light. A reflector bounces light where you need it. A diffuser softens harsh light. Both are non-negotiable if you’re serious about improving your shots.
Buy these before you buy anything else. Seriously.
Comparison Table: Lighting Sources
| Light Source | Cost | Best For | Learning Value |
|---|---|---|---|
| Natural Window Light | Free | Portraits, learning | Highest – forces you to understand light |
| White Reflector | £15-25 | Fill light, bouncing | Essential – changes everything |
| Continuous LED Panel | £150-300 | Key light, control | High – gives you real-time feedback |
| Diffuser | £15-30 | Softening harsh light | High – immediately improves quality |
FAQs
Do I really need to buy expensive photography lighting basics equipment?
No. Honestly? Window light and a white reflector teach you everything. Natural light is free and better for learning than any gear you can buy.
What should my first light actually be?
A continuous LED panel with adjustable colour temperature and a softbox. Around £200-300. You’ll use it constantly.
Can I learn photography lighting basics with my phone?
Absolutely. Modern phones have manual controls. The principles are the same no matter what you’re holding.
How long until I’m actually good at this?
You’ll see real improvement within weeks if you practice regularly. Real mastery takes longer, but the basics? You can get those fast.
Flash or continuous light for beginners?
Continuous. With flash, you can’t see what you’re getting until after. Once you understand light placement and quality, add flash later.
What’s the difference between CRI and TLCI?
CRI is colour accuracy for still photography. TLCI is the video version. Look for CRI 95+ and your colours will be accurate. That matters for skin tones, especially.
Sources & References
- GVM Official – Types of Photography Lighting 2026 Guide
- Digital Camera World – Photography Lighting Basics
- Imagine art – 15 Photography Lighting Basics: The Complete Guide
- PhotoWorkout – Colour Temperature in Photography: The Ultimate Guide
- DIY Photography – Photography Lighting Basics
- Orbitvu – The Photographer’s Guide to Perfect Lighting
- Reolink – Colour Temperature of LED Light: A Complete Guide